An Intro to Git and GitHub for Beginners

Git and GitHub are two of the coolest technologies around for developers. Git, despite its complexity and rather terse beginnings, is the version control tool of choice for everyone from web designers to kernel developers.

Working tree, staging area, and Git directory

Working tree, staging area, and Git directory

Let me share a few quick pointers to get you started on Git:

  1. Create a new repository on GitHub.
  2. Open Terminal.
  3. Change the current working directory to your local project.
  4. Initialize the local directory as a Git repository.
    git init
    
  5. Download file from GitHub to local Repo.
    git clone <GitHub Repo URL>
  6. Add the files in your new local repository. This stages them for the first commit. (This does not add new files to your repository. Instead, it brings new files to Git’s attention. After you add files, they’re included in Git’s “snapshots” of the repository)
    git add .
    # Adds all the new files
    
    git add -u
    # updates tracking for files that changed names or were deleted
    
    git add -A
    # does both of the previous
  7. Commit the files that you’ve staged in your local repository.
    git commit -m "useful commit message"  (is local action only)
    # Commits the tracked changes and prepares them to be pushed to a remote repository. To remove this commit and modify the file, use 'git reset --soft HEAD~1' and commit and add the file again.
    
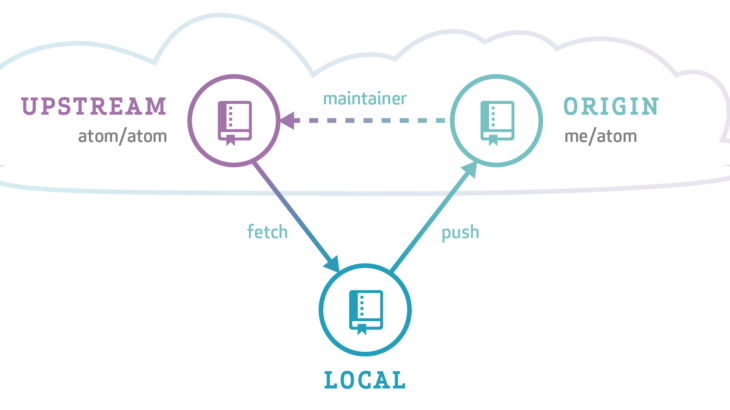
  8. In Terminal, add the URL for the remote repository where your local repository will be pushed.
    git remote add origin <remote repository URL>
    # Sets the new remote
    git remote -v
    # Verifies the new remote URL
    
  9. Push the changes in your local repository to GitHub.
    git push -u <REMOTENAME> <BRANCHNAME>
     # Pushes the changes in your local repository up to the remote repository you specified as the origin

You can read more on these concepts from : https://git-scm.com/book/en/v2/